Weber Kettle Indirect Cooking: A quick Intro
Your trusty Weber Kettle is a backyard workhorse – built to grill, roast, sear, and smoke just about anything you can throw at it. Most folks have heard of the Snake Method and the Minion Method (if not, check out my Snake guide here and the Minion breakdown here – you’ll be a charcoal ninja in no time).
But today, we’re skipping the snakes and minions and diving into three other killer ways to set up your kettle for indirect cooking. Whether you’re chasing crispy-skinned wings or juicy roasts, these techniques will have your BBQ dialled in tighter than your neighbour’s WiFi password.
Why Indirect Cooking Matters
Indirect heat is your ticket to cooking larger cuts, managing flare-ups, and building deep, smoky flavour without nuking your meat. Think of it like turning your kettle into a convection oven – one that smells like brisket and dreams.
With the fire off to the side and the food over cooler zones, you can slow things down, keep things juicy, and nail that perfect cook every time.
Method 1: The Charcoal Basket Split
Best for: Pork ribs, roast chicken, whole fish
Place two charcoal baskets on either side of your charcoal grate and a foil drip pan in the middle. Your food goes on the grill grate directly above the pan. The heat rises from both sides, cooking evenly and gently.

Pros:
- Balanced heat from both sides
- Easy to manage temp
- Works with or without baskets (just shape piles of coal)
🔥 Hot Tip:
Throw a wood chunk on each coal basket to boost your smoke game. Rotate your meat halfway through for an even cook.
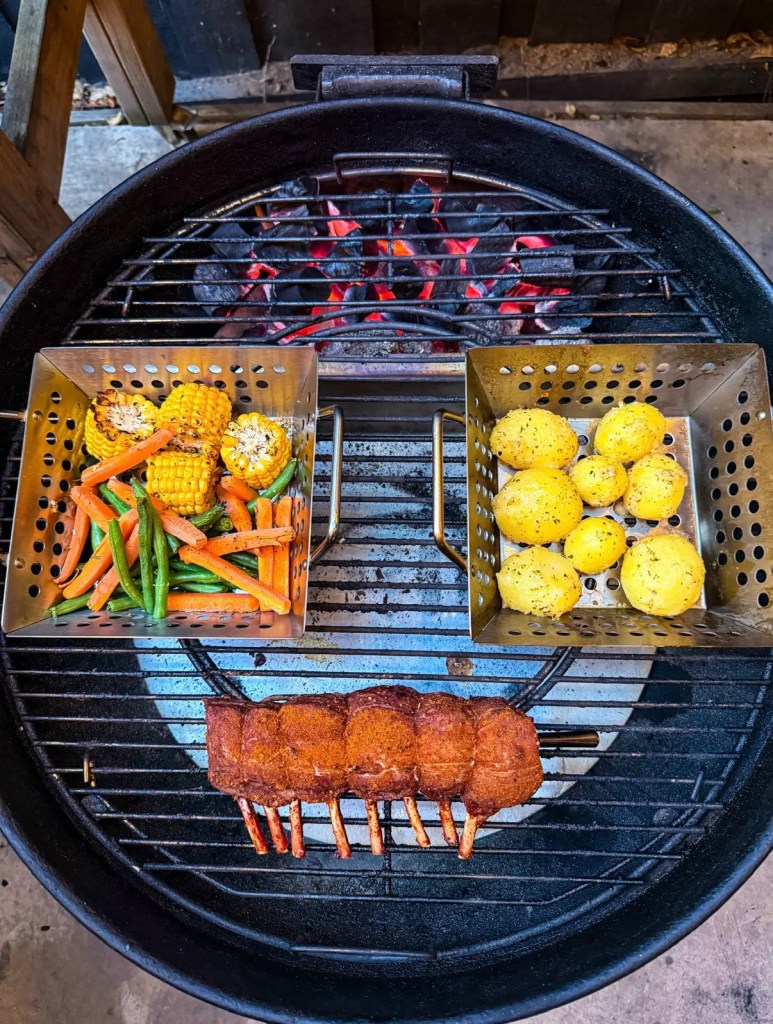
Method 2: Two-Zone Cooking (Coals Banked to One Side)
Best for: Reverse-seared steaks, lamb racks, quick indirect cooks
Shove all your coals to one side of the grill. That’s your hot zone. The opposite side becomes your indirect zone. Start your meat on the cool side, then move to the hot side to finish with a sear (if needed).

Pros:
- Super versatile
- Easy setup
- Great for thick cuts or searing
🔥 Hot Tip:
Keep your top vent positioned over the meat – it draws smoke and heat over your food before exiting.
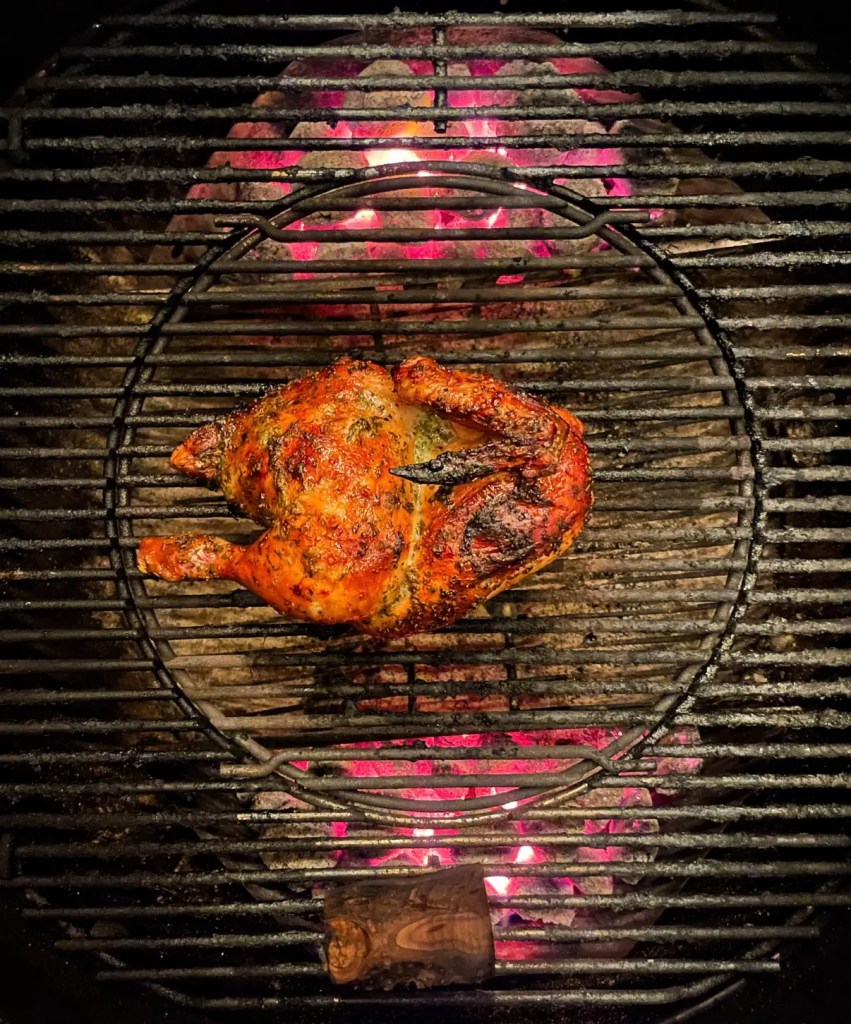
Method 3: Vortex-Style Centre Fire
Best for: Chicken wings, sausages, bacon-wrapped jalapeños
Place a stainless steel cone, bowl, or a proper Krispy Kone accessory in the centre of the charcoal grate. Fill it with lit coals. Arrange your food in a circle around the outer edges of the grill.

Pros:
- Killer crispy chicken skin
- Even heat flow
- Fuel efficient
🔥 Hot Tip:
Keep the lid closed as much as possible. The vortex effect needs consistent airflow to work properly. The top vent creates a hot spot as heat flows out, so rotate the lid during the cook for even heat distribution around the ring. Chuck in some cherry or apple wood for next-level wings.
Controlling the Temperature
- Bottom vent: Start with it about 1/3 open
- Top vent: Use it to fine-tune airflow and heat
- Cooking range: Aim for 225–275°F (107–135°C) for low’n’slow, and up to 350°F+ (175°C) for roasting/crispy skin
💡 Grab a good temp probe like the Thermapen, Meater, or even Inkbird. Guesstimating temps is like guessing your meat’s doneness by how it smells… bold, but often wrong.
Wrapping It Up
The beauty of the Weber Kettle is in its simplicity and versatility. With just a few tweaks to your charcoal layout, you can go from backyard rookie to BBQ whisperer in no time.
Skip the same-old setup next time and give one of these indirect cooking methods a spin. Whether you’re aiming for perfect pulled pork or crackling pork belly, having multiple tools in your BBQ toolkit is how you go from good to bloody impressive.
Related Guides
👉 The Snake Method: A BBQ Game Changer
👉 The Minion Method: Your Shortcut to Low and Slow BBQ Perfection
Discover more from Ollie's Q
Subscribe to get the latest posts sent to your email.


